

If you have ever created or designed a website, then you know just how much thinking and planning goes into the process. You want to make sure your site is visually appealing, you want to make it interesting and easy to navigate, but it also has to be responsive and fast to load. There are many little things and segments you need to think about when creating a site. One such element is the decision on whether to make any of your site’s elements sticky.
If your website is hard to navigate, you will lose a big chunk of your audience, and the main idea behind creating a sticky element is to make it constantly visible. This means when your users scroll up or down, the element will stay fixed on your site. This also makes sure your site is responsive on different devices while ensuring important elements remain constant while users engage with the content on your site. Sticky elements can be anything, from social media sharing buttons, content blocks, to sticky menus.
You can add these elements anywhere. You can place them at the top left of your site or place them in the footer. No matter where you place them, they will not take up too much space on your website. Also, make sure the element is placed somewhere where it won’t take the attention away from the site’s content.
Using WP Sticky to make sticky elements
Adding sticky elements can be easily done with a plugin, and you don’t need to have any coding knowledge. Here, we will mention WP Sticky as our recommended plugin because you can make your elements sticky in less than a minute.
How to use this plugin?
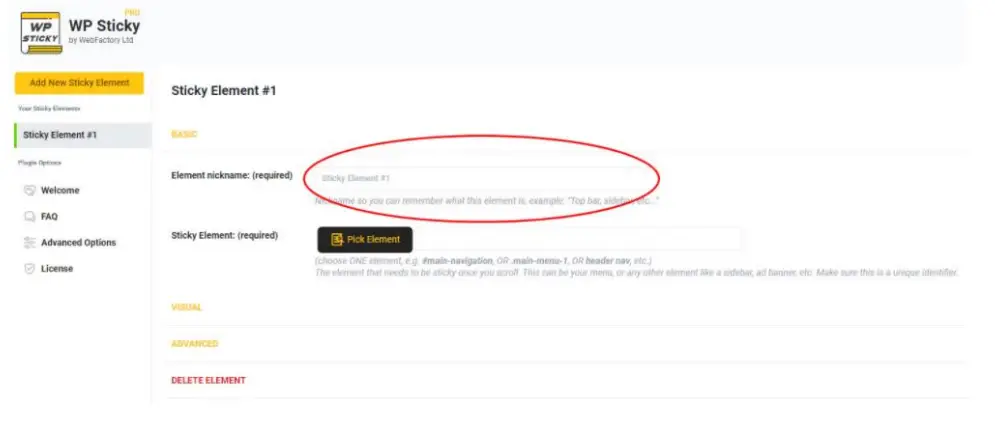
To use it, install and activate the plugin and then open the Settings. Then, click on Add New Sticky Element. Name your sticky element (for example, header) and click on Pick Element. You just have to pick the element off the screen and make it sticky. Then, you can select the effect you want to use and click on Save changes.
What are the features of WP Sticky?
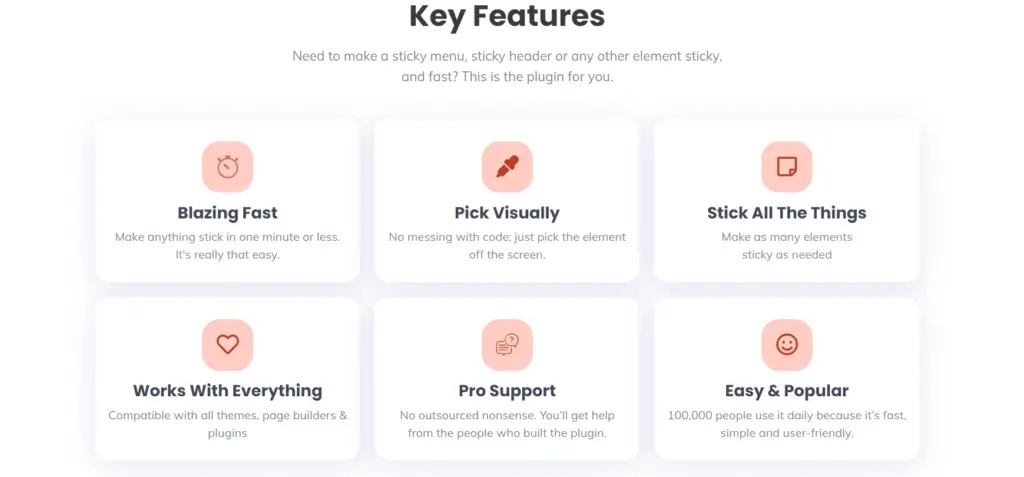
The whole process of creating a sticky element is fast and user-friendly. The plugin works with all themes and page builders. If you need help, you have access to a great support team that built the plugin. You can make as many elements sticky and even decide on what type of device you want the elements to be sticky on. You can choose on which sites you do not want your elements to be sticky and add markers if you want to customize your elements with CSS further.
In short, there is a lot of flexibility and options when creating these elements. It is good to know that if you ever remove the plugin, the elements will return to their original state (of not being sticky), and you will not lose them.
Moreover, you can get this plugin for only $5.99 per month or for $39 for a lifetime license. This lets you use this plugin for 1 site, and you get all the features with it (as well as the white label option). For three sites, you can get it for $49, or if you need it for more websites (it goes up to 100 site licenses), you can get it for $99.
How to create a sticky element and which should you choose?
This depends on your site and your needs. You can make any elements sticky, but you should make sure they visually match the rest of your site. So, what is a sticky header? Headers are a part of a consistent user experience and should be consistent across all pages. They establish your brand, showcase your logo, and make your site easy to navigate. They also usually contain the navigation menu (or the main menu), page title, shopping cart, log in or log out options, and notifications.
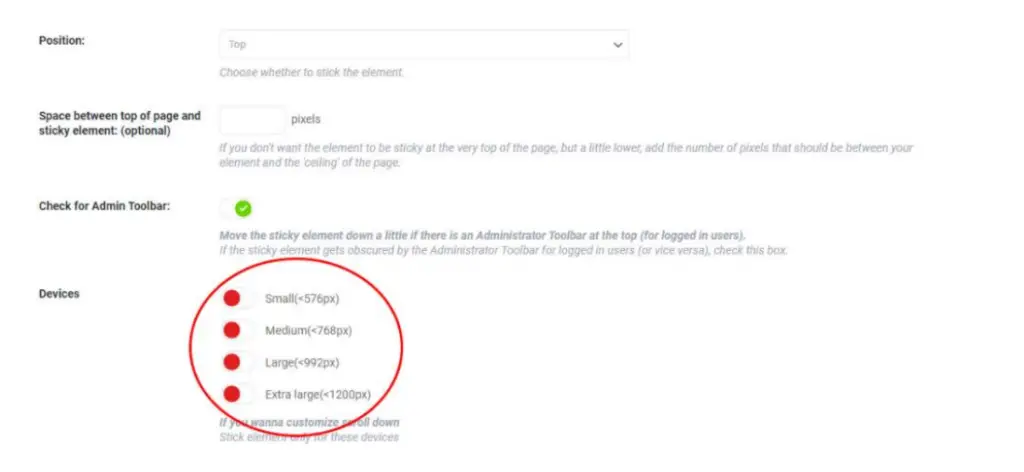
To add a sticky header, go to Settings and click on WP Sticky Pro. There, click on Add New Sticky Element. There you can customize it and give it a name. Here, you can customize its behavior, position, and effects and choose whether or not you wish to be sticky on all devices.
Once you click on Pick Element, you will see your website in the edit mode, where you can then change your text, fonts, position, and much more. You can decide where you want to position your sticky elements, add effects, and opacity.
A sticky title can be added the same way. Just click on Add New Sticky Element. Then you can customize it, edit its behavior, devices, and add a name. The same process happens for a sticky widget. Lastly, you can make multiple sticky elements. After going through the same process of adding them, you can customize and edit each one.
As you can see, the process is straightforward and quite fast. There is no coding, and even if you are a beginner, you can use this plugin without any problems.
FAQ
What is a sticky navbar?
Navbar is simply a navigation bar. This is a user interface element within a webpage that contains links to other parts of the website.
Can I have more than one sticky element?
Yes, you can have more than one sticky element. In fact, you can have multiple sticky elements on your site. However, you can do this in the PRO version.
How do I create a sticky menu in WordPress?
If you have some coding knowledge and experience with CSS, you can create it with a code. However, this might be too confusing for beginners, so we suggest you use the WP sticky menu that comes in the editor as you don’t need to use any coding.
Conclusion
A lot of websites use sticky elements, and they use them for a good reason. However, keep in mind that if you have a website that has a lot of content, then make sure to create some sticky elements for easier navigation. Otherwise, if your website does not have a lot of content, there are not many benefits of having sticky elements. Instead, this might make the user experience worse.
By making your website easier to navigate, you can create a better experience for your users that will keep them coming back. You also keep your users on your site for longer, and they will consume more of your content, which lowers your bounce rates.