
An Android phone owner in Sri Lanka may want to change an eSIM provider for several reasons: better mobile data pricing, stronger coverage in a specific district, improved roaming options, or a switch from a travel eSIM to a local Sri Lankan mobile plan. The process is usually straightforward, but it must be done carefully because an eSIM is a digital SIM profile rather than a removable card. Once the old profile is deleted, it generally cannot be restored without contacting the provider again.
TLDR: To change an eSIM provider on an Android phone in Sri Lanka, the user should first confirm that the phone supports eSIM and is not carrier locked. They should then buy or request a new eSIM plan from the chosen provider, scan the QR code or enter the activation details, and set the new eSIM as the default for calls, SMS, and mobile data. The old eSIM should only be removed after the new provider is activated and working properly.
Understanding eSIM on Android Phones in Sri Lanka
An eSIM, or embedded SIM, is a digital version of a physical SIM card. Instead of inserting a plastic SIM into the phone, the user downloads a mobile network profile directly onto the device. This profile allows the phone to connect to a mobile operator for calls, SMS, and data.
In Sri Lanka, eSIM can be useful for both local residents and visitors. A resident may switch between local providers for better coverage or lower prices, while a tourist or business traveller may use an international travel eSIM for short-term data access. Some users may also keep a physical Sri Lankan SIM and use an eSIM for additional data or roaming.
However, not every Android phone supports eSIM. Support depends on the phone model, region, software version, and sometimes the carrier. Popular Android models that commonly support eSIM include many newer Google Pixel devices, Samsung Galaxy S and Z series phones, and selected Motorola, Xiaomi, Oppo, and other flagship devices. The user should always verify compatibility before purchasing an eSIM plan.
Before Changing an eSIM Provider
Before switching providers, the Android phone owner should prepare properly. This reduces the risk of losing mobile service or deleting an active profile too early.
- Check eSIM compatibility: The phone must support eSIM. This can usually be checked in Settings > Network & Internet or Settings > Connections > SIM Manager, depending on the Android brand.
- Confirm that the phone is unlocked: A locked device may only work with one carrier. If the phone was purchased through an overseas network or on a carrier contract, it may need to be unlocked first.
- Back up important information: Contacts, messages, and account recovery numbers should be updated before any SIM change.
- Keep Wi Fi available: eSIM activation usually requires an internet connection. A stable Wi Fi network is strongly recommended.
- Do not delete the old eSIM immediately: The old eSIM should remain installed until the new eSIM is activated and tested.
Choosing a New eSIM Provider in Sri Lanka
The next step is selecting the new eSIM provider. In Sri Lanka, users may consider local mobile operators and international eSIM providers. Local providers are usually better for long-term residents because they may offer local phone numbers, voice services, and better value for domestic use. International eSIM providers are often convenient for tourists who mainly need mobile data.
Availability changes over time, so the user should confirm directly with the operator before making a decision. Sri Lankan operators such as Dialog and SLT-Mobitel have been commonly associated with eSIM services, while other providers may offer different levels of support depending on the plan, device, and customer category. Some providers may require the customer to visit a store, complete identity verification, or use an existing account portal.
When comparing providers, the user should look at the following:
- Coverage: Network strength can vary across Colombo, Kandy, Galle, Jaffna, rural areas, coastal regions, and hill country locations.
- Data packages: Some users need high-speed data for work, maps, video calls, and hotspot usage.
- Voice and SMS support: Some travel eSIMs are data-only, while local eSIMs may include a Sri Lankan number.
- Validity period: Tourists may prefer short-term plans, while residents may prefer prepaid or postpaid monthly plans.
- Activation method: The provider may offer a QR code, app-based installation, or manual activation details.
- Customer support: Reliable support is important if activation fails or the QR code expires.
Step-by-Step: Changing the eSIM Provider on Android
The exact menu names vary between Samsung, Google Pixel, Xiaomi, Oppo, and other Android phones. Even so, the general process is similar.
1. Obtain the New eSIM Plan
The user should first purchase or request the new eSIM plan from the chosen provider. This may happen online, through a mobile app, at an operator store, or through customer support. In Sri Lanka, local operators may require a National Identity Card, passport, or other verification depending on whether the user is a resident or visitor.
After approval, the provider normally gives one of the following:
- A QR code for eSIM activation
- An activation code and SM DP address for manual installation
- An app-based activation process
- Instructions sent by email, SMS, or customer portal
2. Connect the Android Phone to Wi Fi
Before installing the new eSIM, the phone should be connected to a stable Wi Fi network. This is especially important if the old eSIM is about to be disabled or if the phone has no active mobile data connection. A weak connection can interrupt the download of the eSIM profile.
3. Open the SIM or Network Settings
On many Android phones, the user can follow a path similar to this:
- Google Pixel: Settings > Network & Internet > SIMs > Add SIM
- Samsung Galaxy: Settings > Connections > SIM Manager > Add eSIM
- Other Android phones: Settings > Mobile Network > SIM Management > Add eSIM
The phone may ask whether the user wants to scan a QR code or enter details manually. If the provider supplied a QR code, scanning it is usually the easiest method.
4. Scan the QR Code or Enter Details Manually
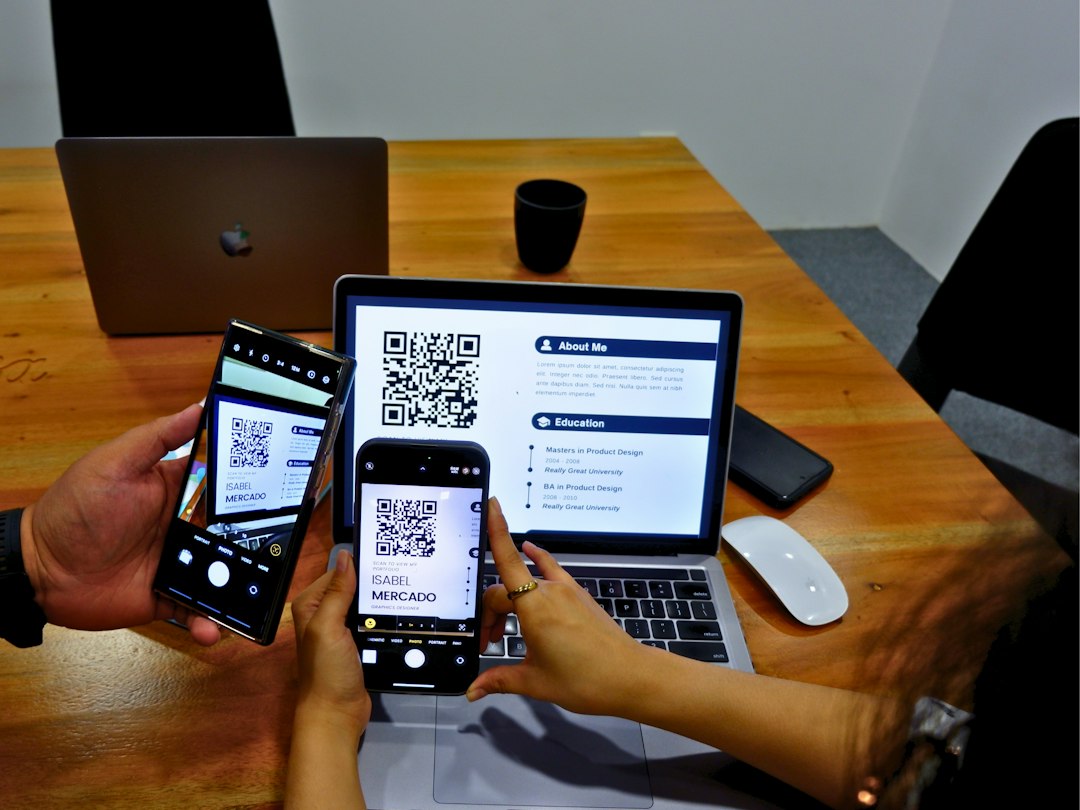
If the provider has supplied a QR code, the user should scan it using the phone camera inside the eSIM setup screen. The QR code should not be scanned by a regular camera app unless the provider specifically instructs that method.
If manual activation is required, the user may need to enter details such as the SM DP address and activation code. These details must be typed exactly as provided. A small spelling mistake or extra space can cause activation to fail.
5. Download and Install the New eSIM
After the QR code or activation details are accepted, the Android phone downloads the new eSIM profile. This may take a few seconds or several minutes. The user should keep the phone connected to Wi Fi and avoid restarting it during this process.
Once installed, the phone may show the new eSIM under a name such as SIM 1, SIM 2, Mobile Network, or the provider’s brand name. The user can usually rename the eSIM to something clearer, such as Dialog eSIM, Mobitel Data, or Travel eSIM.
6. Set the New eSIM as the Preferred Network
Installing an eSIM is not always enough. The user must also choose how the phone should use it. In the SIM settings, Android usually allows the user to set preferences for:
- Mobile data
- Calls
- SMS messages
If the new eSIM is intended to fully replace the old provider, it should be selected as the default for all three. If the user wants to keep a physical SIM for calls and use the eSIM only for data, only the mobile data option should be changed.
7. Test the New eSIM
Before deleting the old eSIM, the user should confirm that the new service works properly. They can test it by:
- Turning off Wi Fi and checking whether mobile data works
- Opening a website or map application
- Making a call, if the plan supports voice
- Sending an SMS, if the plan supports messaging
- Checking the signal strength in the notification bar
If the eSIM connects but data does not work, the issue may be related to APN settings. Some networks configure APN automatically, while others require manual settings. The user should obtain the correct APN details from the new provider.
Removing the Old eSIM Provider
Only after the new eSIM is active and tested should the old provider profile be removed. On most Android phones, this can be done from the same SIM settings menu. The user selects the old eSIM and taps an option such as Delete eSIM, Remove SIM, or Erase SIM.
This step should be treated carefully. Deleting an eSIM does not always cancel the mobile plan or billing account. It only removes the digital profile from the device. If the user is leaving a postpaid plan or subscription, they may still need to contact the old provider to cancel the service properly.
In many cases, a deleted eSIM cannot be reinstalled using the same QR code, especially if the QR code is single-use. If the customer changes their mind, they may need a replacement eSIM from the old provider.
Common Problems When Switching eSIM Providers
Although changing an eSIM provider is usually simple, several issues can occur.
The Phone Does Not Show an Add eSIM Option
If there is no eSIM option in settings, the phone may not support eSIM, the feature may be disabled in that region, or the software may need an update. The user should check the official device specifications and install the latest Android update.
The QR Code Does Not Work
The QR code may already have been used, expired, or issued for another device. The phone may also have a poor internet connection. The user should try again on stable Wi Fi and contact the provider if the error continues.
The eSIM Installs but Has No Signal
This may happen if the plan has not been activated by the provider, the phone is locked, or the user is outside the coverage area. Restarting the phone and manually selecting the network may help.
Mobile Data Does Not Work
The user should check whether the new eSIM is selected for mobile data. If it is selected and still fails, the APN settings should be verified. Data roaming may also need to be enabled for some international eSIMs used in Sri Lanka.
Important Tips for Sri Lankan Users
- Keep identity documents ready: Local eSIM registration may require proper identification under Sri Lankan telecom requirements.
- Check area coverage: A provider that works well in Colombo may not always be the best choice in rural or mountainous areas.
- Understand data-only limitations: Many travel eSIMs do not provide a Sri Lankan phone number.
- Avoid deleting profiles too soon: The old eSIM should remain until the new one is confirmed to work.
- Save activation emails: Provider instructions may be needed again during troubleshooting.
FAQ
Can an Android phone have more than one eSIM?
Many modern Android phones can store multiple eSIM profiles, but only one or two may be active at the same time depending on the device. The user should check the phone’s specifications.
Does deleting an eSIM cancel the mobile plan?
No. Deleting an eSIM usually removes the profile from the phone only. The user may still need to contact the provider to cancel billing or close the account.
Can the same QR code be used again?
Often, no. Many eSIM QR codes are single-use. If the profile is deleted or moved to another phone, the provider may need to issue a new QR code.
Is eSIM available from all Sri Lankan mobile operators?
Availability can change. Some major providers offer eSIM services for selected plans and devices, while others may have limited support. The user should confirm directly with the operator.
Can a tourist use an eSIM in Sri Lanka?
Yes. A tourist can use an international travel eSIM or, where available, a local Sri Lankan eSIM. Travel eSIMs are often data-only, while local plans may require passport verification.
Why does the new eSIM show signal but no internet?
The most common reasons are incorrect APN settings, the wrong SIM selected for mobile data, no active data package, or roaming settings being turned off for a travel eSIM.
Should the old eSIM be removed before installing the new one?
It is safer to keep the old eSIM until the new provider is installed, activated, and tested. Removing it too early can leave the user without mobile service.