
The safest way to post a YouTube video on Instagram is to share only a clip you own, have permission to use, or can legally reuse, then format it for Reels, Stories, or feed posts. Instagram will not simply “import” a YouTube video for you, so you need to prepare the video file, resize it, credit correctly, and avoid copyrighted music, speeches, TV clips, or creator content you do not control.
TLDR: Downloading random YouTube videos and reposting them to Instagram can get your post muted, blocked, removed, or reported. Use your own video, get written permission, or use content clearly marked for reuse, then edit it into a vertical format such as 1080 x 1920 for Reels. For example, a cooking creator could cut a 12-minute YouTube tutorial into a 45-second Reel showing the best three steps, then add “Full recipe on YouTube” in the caption. This saves time and can boost reach, since short vertical clips often get more casual views than long videos.
Can You Post YouTube Videos to Instagram?
Yes, but with limits. Instagram does not let you paste a YouTube link and turn it into a playable feed video. You either upload a video file to Instagram or share a link through your bio, Stories link sticker, or direct messages.
If the video is yours, the process is simple. Download your original file, edit it for Instagram, and upload it. If the video belongs to someone else, slow down. You need permission unless the clip falls under a valid legal exception or has a license that allows reuse.
The catch is that “I found it on YouTube” means almost nothing legally. YouTube availability does not equal permission to repost. A creator may allow viewing on YouTube only, not republishing on Instagram.
Step 1: Confirm You Have the Right to Use the Video
Before editing anything, check the rights. This is the step people skip, then regret later.
- Your own YouTube video: Safe to repost, assuming you also own the music, images, and footage inside it.
- Client or company video: Get approval in writing, especially if people, logos, or licensed music appear.
- Creative Commons video: Read the license terms. Some require attribution. Some block commercial use.
- Someone else’s video: Ask for written permission before reposting clips.
- News, sports, movie, podcast, or music clips: High risk. These are often protected and heavily monitored.
Fair use may apply in some cases, such as review, commentary, criticism, education, or parody. Still, it is not a magic shield. Fair use depends on context, length, purpose, and market impact. Instagram may remove a post before any legal argument is ever considered.
Step 2: Get the Video File the Right Way
If you uploaded the video to YouTube, use your original file if you still have it. That usually gives you better quality than downloading from YouTube.
If you need a copy of your own YouTube upload, use YouTube Studio where available:
- Open YouTube Studio.
- Go to Content.
- Find the video.
- Click the menu options.
- Select Download, if the option appears.
Honestly, it feels like this should take five seconds, yet account settings and browser quirks can make it take longer than expected. If the download option is missing, use your original project export instead.
Avoid shady downloader sites. Many are loaded with pop-ups, poor-quality exports, and privacy risks. They may also violate YouTube’s terms, especially when used to copy content you do not own.
Step 3: Choose the Best Instagram Format
Instagram rewards videos that feel native to the app. A wide YouTube video can look tiny and awkward if uploaded without changes. Resize and reframe before posting.
- Reels: Best for short clips, discovery, tutorials, highlights, and teasers. Use 9:16 vertical, ideally 1080 x 1920.
- Stories: Best for quick updates, informal clips, and directing followers to a link. Also use 9:16 vertical.
- Feed posts: Good for polished content. Square 1:1, portrait 4:5, or vertical clips can work.
For most YouTube repurposing, Reels are the best choice. They are built for short video and can reach people who do not follow you yet.
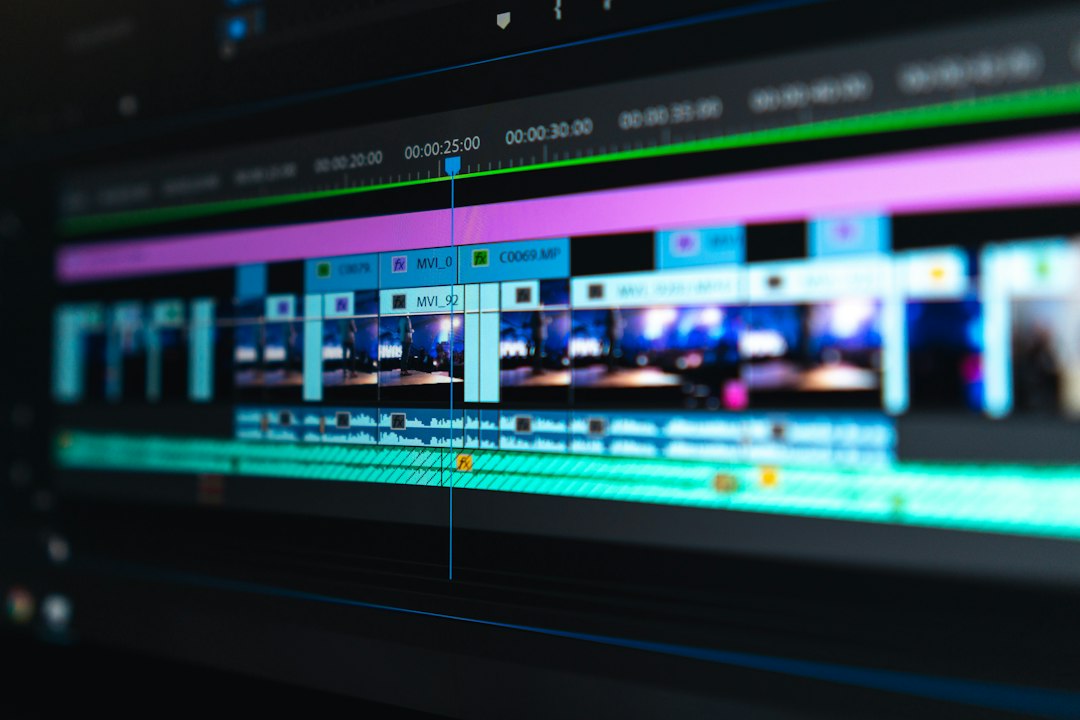
Step 4: Edit the YouTube Video for Instagram
Do not just repost the full YouTube video. Instagram users scroll fast. Make the clip shorter, tighter, and easier to understand without context.
Try this simple editing structure:
- Start with the hook: Show the result, best quote, biggest mistake, or funniest moment first.
- Cut dead air: Remove intros, long pauses, and “welcome back” sections.
- Add captions: Many people watch without sound.
- Use vertical framing: Keep faces, products, and text away from screen edges.
- Add a call to action: Say “Watch the full video on YouTube” or “Link in bio.”
A good YouTube-to-Instagram cut is often 15 to 60 seconds. Longer Reels can work, but only if the pacing is strong. If a section feels slow while editing, it will feel even slower on Instagram.
Step 5: Remove or Replace Risky Audio
Music causes many reposting problems. A song that cleared on YouTube may not be cleared for Instagram. The reverse can also be true.
If your YouTube video includes commercial music, background tracks, movie audio, or podcast clips, consider replacing the audio before posting. Use Instagram’s music library when possible, but remember that business accounts may have fewer music options than creator or personal accounts.
Tip: If the spoken content matters, keep voice audio clean and quiet the background music. Add captions so the message survives even if sound is muted.
Step 6: Upload the Video to Instagram
Once your clip is edited, upload it through the Instagram app.
- Open Instagram.
- Tap the plus button.
- Select Reel, Post, or Story.
- Choose your edited video file.
- Check the crop, cover frame, and text placement.
- Add a caption, hashtags, location, and tags if useful.
- Post or schedule it, depending on your account tools.
For Reels, choose a clear cover image. A confusing cover can lower taps from your profile grid. Keep text large and readable. Tiny YouTube-style thumbnails often look messy on a phone screen.
Step 7: Credit Creators the Right Way
Credit is polite, but credit alone is not permission. Tagging the original channel does not automatically make reposting legal.
If you have permission to share someone’s YouTube clip, include a caption such as:
“Clip used with permission from @creatorname. Watch the full video on their YouTube channel.”
If the license requires attribution, follow the exact wording. Include the creator name, source, and license type when needed. Keep screenshots of permission messages or emails. They may help if a dispute appears later.
Step 8: Share a YouTube Link When You Cannot Repost the Video
Sometimes the best move is not to upload the video at all. If you lack rights, share the link instead.
- Bio link: Add the YouTube URL to your profile link area.
- Stories link sticker: Share a teaser image or short original clip, then add the YouTube link.
- Caption prompt: Say “Full video is linked in bio.”
- DMs: Send the YouTube link directly to interested followers.
This method is cleaner for interviews, collaborations, and videos owned by another creator. It sends traffic to the original upload instead of copying it.

Common Mistakes to Avoid
- Posting full videos: Instagram is not the best place for long YouTube uploads.
- Ignoring aspect ratio: Horizontal videos often appear too small.
- Using copyrighted music: Your audio may be muted or the post may be removed.
- Assuming credit is enough: It is not the same as permission.
- Forgetting captions: Silent viewing is common on Instagram.
- Uploading blurry downloads: Start with the highest-quality source file you can use legally.
Best Practice Workflow
Here is a simple workflow that works for most creators and brands:
- Pick a YouTube video you own or can legally use.
- Choose one strong moment, not the whole video.
- Edit it into a 9:16 vertical clip.
- Add captions, a strong opening, and a clear ending.
- Check music and visual rights.
- Upload as a Reel.
- Send viewers to the full YouTube video through your bio or Story link.
Posting YouTube videos to Instagram works best when you treat Instagram as its own channel, not a dumping ground for leftovers. Trim the clip. Respect rights. Format it for the phone. Then give viewers a reason to watch the full version where it originally lives.