
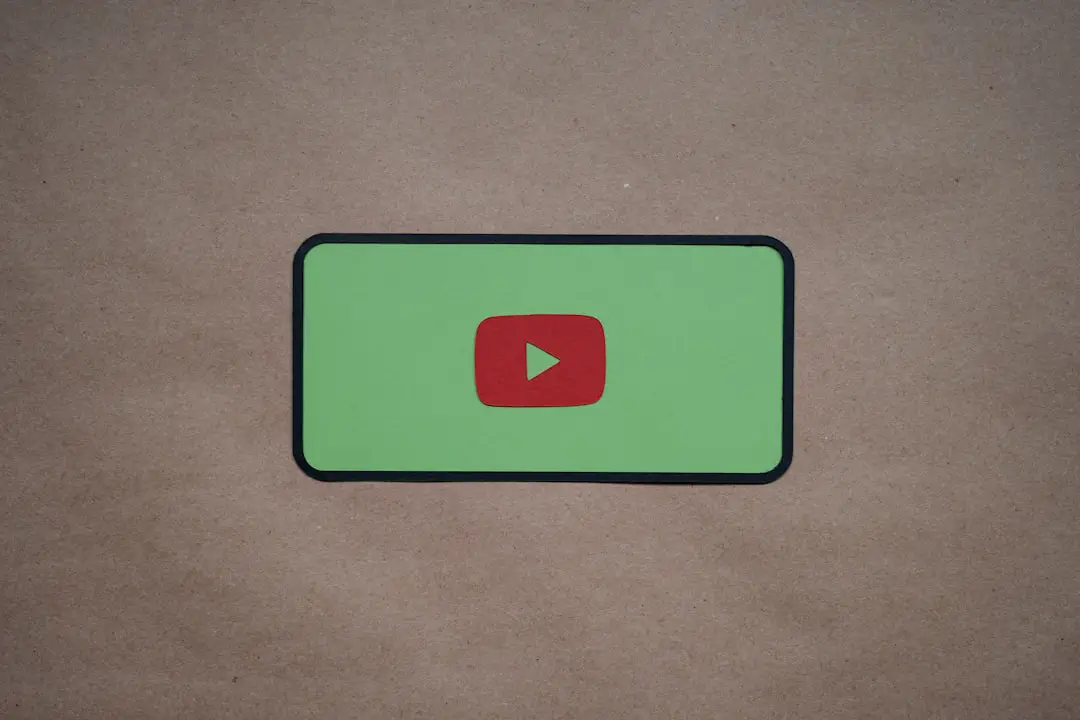
In an age where visual content dominates nearly every digital platform, creating eye-catching thumbnails is no longer optional—it’s essential. Whether you’re producing YouTube videos, online courses, or social media content, a compelling thumbnail can significantly increase clicks and engagement. Fortunately, you don’t need to be a professional designer to create stunning visuals. Canva, a user-friendly graphic design platform, offers all the tools you need to produce high-quality thumbnails, even if you’re a complete beginner.
Why Thumbnails Matter
Thumbnails are often the first thing people notice about your content. They function like the cover of a book or a storefront window—drawing people in and giving them a glimpse of what to expect. A well-designed thumbnail can:
- Increase click-through rates by capturing interest quickly
- Improve brand identity through consistent visuals
- Communicate the content’s value before it’s consumed
Getting Started with Canva
Before diving into design, you need a Canva account. Go to canva.com and sign up for free. Canva provides a drag-and-drop interface, templates, and a vast library of graphics and fonts, making it an excellent platform for beginners.
Step 1: Choosing the Right Dimensions
To begin creating a thumbnail, click “Create a Design” and select “Custom Size.” For YouTube, the recommended dimensions are 1280 x 720 pixels. This ensures the thumbnail looks sharp on all devices.
Step 2: Picking a Template
Canva offers a wide selection of customizable thumbnail templates. Simply type “YouTube Thumbnail” in the search bar, and you’ll find numerous styles sorted by theme. Choose one that suits your content’s tone—whether it’s playful, educational, or professional.
Templates provide a solid starting point. You can modify elements later to make the design truly your own.
Step 3: Adding a Background
A strong background sets the tone for your thumbnail. Canva provides multiple options:
- Solid Colors: Best for minimalist designs
- Gradients: Add depth and sophistication
- Photos: Use high-resolution images from Canva’s library or upload your own
To add a background, simply drag an image or color swatch to the canvas. Ensure the background does not overpower the text and other elements.
Step 4: Inserting Text
The text on your thumbnail should be short, bold, and legible. Most effective thumbnails use 3-6 words. Avoid cluttering with too much information; let the title do the heavy lifting.
To add text, click “Text” from the sidebar and choose a font combination or add a heading manually. Use high-contrast colors so text is readable against your background. Bold and sans-serif fonts work especially well.
Tips for effective text:
- Use capital letters for emphasis
- Keep fonts consistent with your brand
- Apply outlines or drop shadows for better visibility
Step 5: Incorporating Images or Icons
Adding a recognizable face, illustration, or icon can make your thumbnail more engaging. Headshots showing emotion typically perform better on platforms like YouTube. You can upload your own images or search Canva’s elements tab for royalty-free graphics and icons.
Keep in mind the rule of balance. Don’t overdo it. Place key visual elements using Canva’s alignment tools and grid lines to maintain visual harmony.
Step 6: Enhance with Filters and Effects
Filters and image effects can enhance visual appeal and cohesion. Click on any image and select “Edit Image.” From here, you can:
- Adjust brightness and contrast
- Apply a blur for background focus
- Use vignette effects for mood
Make subtle tweaks; over-editing can make your thumbnail look unprofessional.
Step 7: Add Branding Elements
If you’re consistently producing content, reinforce your brand identity by including your logo, slogan, or signature color scheme on every thumbnail. Use Canva’s “Brand Kit” feature (available on Pro) to streamline this process.
Typical branding elements include:
- Corner logos
- Repetitive font styles
- Consistent color usage
Branding builds trust and recognition across your audience. Over time, people will click simply because they recognize your style.
Step 8: Save and Export
Once you finalize your design, click “Share” in the top-right corner, then select “Download.” For best results, choose PNG format for a high-quality image. Avoid the temptation to use JPG unless you need a smaller file size.
Optional: Use the filename to make it searchable. For example, name it “how-to-design-thumbnails.”
Best Practices for Thumbnails
Even the best-designed thumbnail won’t perform well if it doesn’t follow some basic best practices:
- Avoid Too Much Text: Cluttered designs overwhelm viewers.
- Maintain Consistency: Use a recurring layout or format.
- Focus on Faces: Images that show human emotions perform better.
- Test Variants: A/B test different thumbnails and see what performs best.
Remember that one size does not fit all. What works for a tech channel might not work for a travel blog. Continuously refine your designs based on analytics.
Common Mistakes to Avoid
Even with Canva’s intuitive tools, beginners can fall into a few design traps. Stay clear of these common pitfalls:
- Low Contrast: Makes your text hard to read
- Overuse of Fonts: Stick to two or fewer fonts per design
- Neglecting Mobile Viewers: Your thumbnail should be legible even on smartphones
- Generic Imagery: Avoid stock images that don’t add value or uniqueness
Conclusion
Designing thumbnails with Canva is both accessible and effective, especially for beginners who want to make a strong visual impact. By following the step-by-step process outlined here—from choosing the right dimensions and templates to incorporating branding—you can produce thumbnails that are not only beautiful but also strategically optimized to boost engagement.
Invest the time to understand what resonates with your audience, regularly iterate your designs, and keep honing your aesthetic sense. Your thumbnail is the gateway to your content; make sure it invites the right audience in.