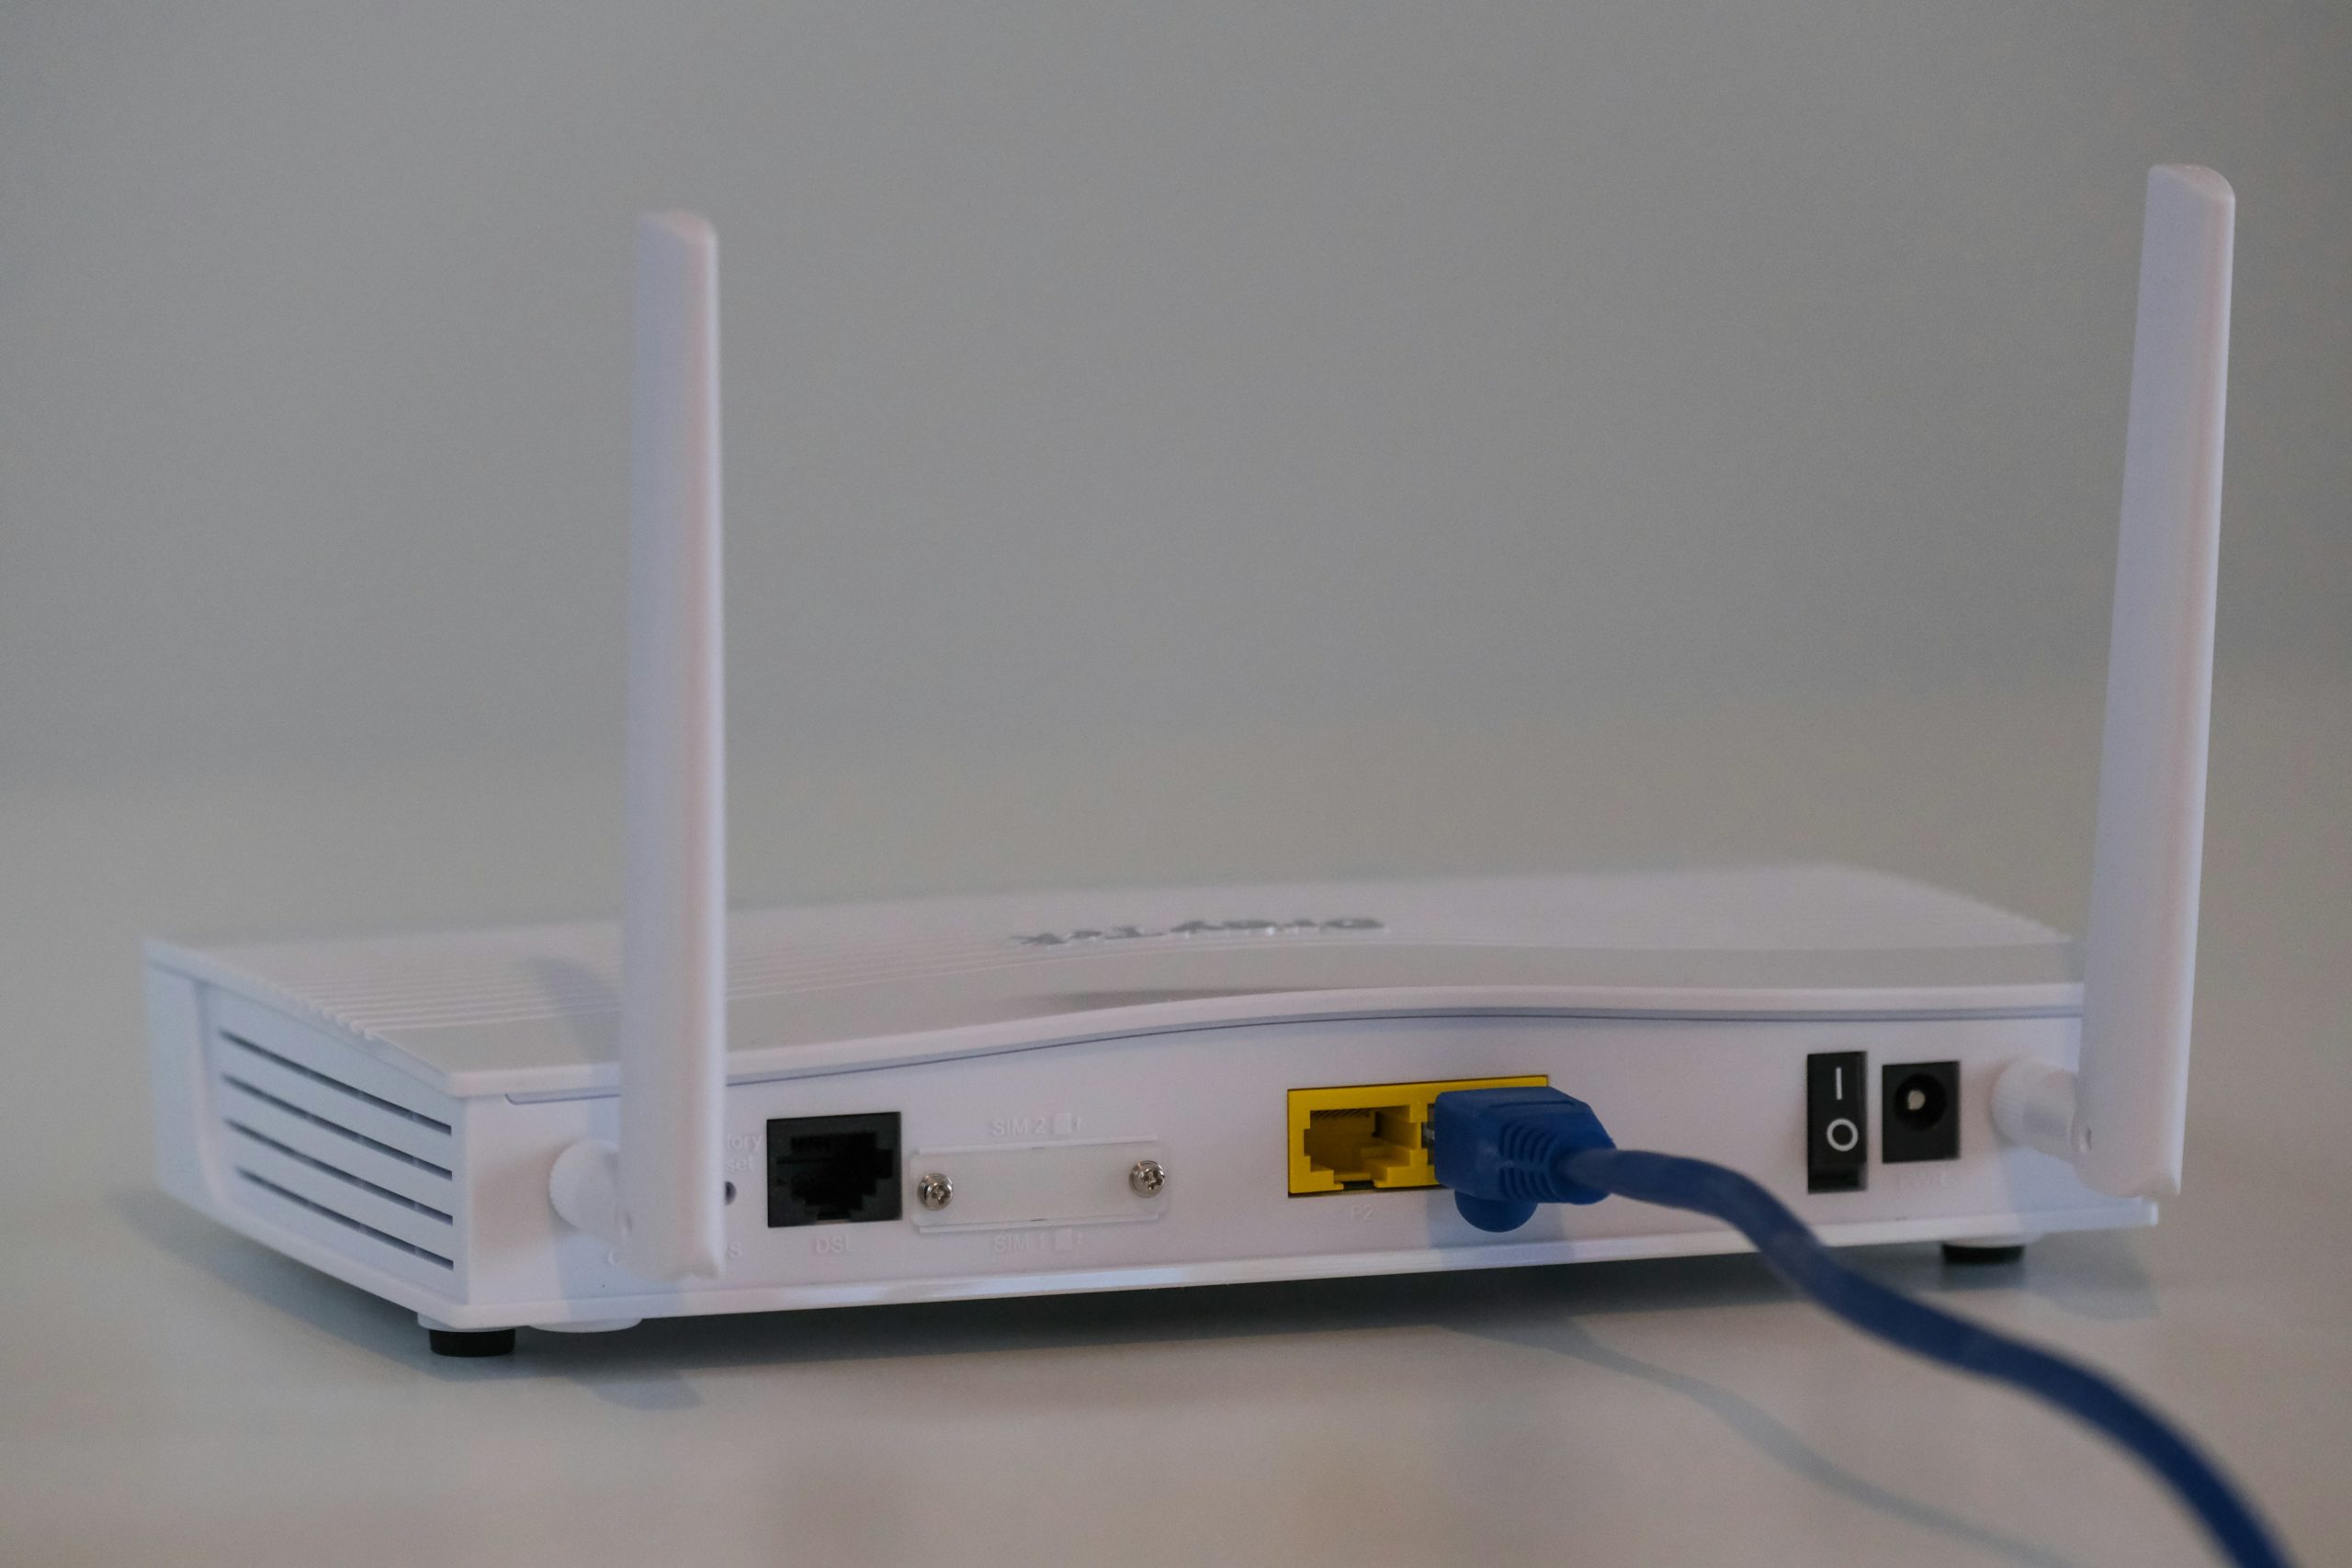
Canceling your Xfinity internet service can seem daunting, but it doesn’t have to be. Whether you’re switching providers, moving to a new location, or cutting down on expenses, knowing the process in advance can save you time and frustration. This guide will walk you through each step, ensuring a smooth cancellation experience.

Step 1: Review Your Contract Terms
Before you begin the cancellation process, it’s essential to understand your Xfinity service contract. Key points to check:
– Contract Length: If you’re in a contract, canceling early might incur termination fees.
– Early Termination Fees (ETFs): These fees vary depending on how much time remains on your contract. Typically, they range from $10 to $20 for each remaining month.
– Equipment Return Policies: You’ll need to return any rented modems, routers, or TV boxes to avoid additional charges.
Tip: Log into your Xfinity account or check your latest bill to review contract details.
Step 2: Decide on a Cancellation Method
Xfinity offers several ways to cancel your internet service:
1. By Phone:
– Call Xfinity Customer Service at 1-800-XFINITY (1-800-934-6489).
– Navigate through the automated system to reach the retention department.
– Be prepared for offers to keep you as a customer—Xfinity may provide discounts or alternative plans.
2. In-Person:
– Visit your nearest Xfinity store.
– Bring your account information and any equipment you plan to return.
– This method is ideal if you want immediate confirmation and a receipt for returned equipment.
3. Online Chat:
– Log into your Xfinity account and access the Support or Contact Us section.
– Initiate a live chat session and request cancellation.
– Save the chat transcript for your records.
4. Mail or Written Request:
– You can mail a written cancellation request, but this method is less common and takes longer.
– Include your account number, contact details, and a clear statement requesting cancellation.
Step 3: Prepare Your Account Information
When you contact Xfinity, have the following details ready:
– Account Number: Found on your bill or online account.
– Account Holder’s Name and Address: Ensure the information matches Xfinity’s records.
– Reason for Cancellation: While not mandatory, being clear about your reasons can help you avoid retention pitches.
Tip: If you’re canceling due to high costs, Xfinity may offer a discounted rate to retain you.
Step 4: Negotiate (Optional but Recommended)
Xfinity’s retention department often tries to keep customers by offering deals or downgrades. If you’re open to staying:
– Request Discounts: Sometimes, they offer lower monthly rates or waived fees.
– Consider Downgrading: If you don’t need high-speed internet or additional services, downgrading might save money.
Important: If you’re determined to cancel, firmly but politely decline these offers.
Step 5: Confirm the Cancellation
After initiating the cancellation:
– Request a Confirmation Number: This provides proof of your cancellation request.
– Check Your Email: Xfinity typically sends a confirmation email. Verify all details.
– Monitor Your Billing Cycle: Ensure no further charges appear. Sometimes, billing adjustments take a few days.

Step 6: Return Your Equipment
Failure to return rented equipment can result in hefty charges. Follow these steps:
– Locate All Rented Equipment: Include modems, routers, TV boxes, and remote controls.
– Return Options:
– Drop Off at an Xfinity Store: Ensure you get a receipt.
– UPS Drop-Off: Xfinity partners with UPS, allowing you to return equipment for free. UPS provides a tracking receipt.
– Request a Prepaid Shipping Box: You can contact Xfinity to mail you a box for returns.
Tip: Keep your return receipt until you receive confirmation that the equipment has been processed.
Step 7: Check for Final Charges
After cancellation, log into your Xfinity account or check your email for a final bill:
– Prorated Charges: You’ll only pay for the days you had service.
– Early Termination Fees: If applicable, these will be listed.
– Refunds: If you prepaid, Xfinity may issue a refund.
Common Challenges and Solutions
– Retention Pitches: Stay firm and restate your intention to cancel if you don’t want to negotiate.
– Long Wait Times: Calling during non-peak hours (early morning or late evening) can reduce wait times.
– Unexpected Fees: Review your final bill closely and dispute any incorrect charges immediately.
Canceling your Xfinity internet service doesn’t have to be stressful. By understanding your contract, preparing your information, and following these steps, you can ensure a smooth and hassle-free process. Whether you’re switching providers or cutting back on expenses, careful planning helps you avoid unnecessary fees and complications.

