
Owning a swimming pool for the first time is both exciting and intimidating. Crystal-clear water can turn cloudy or green seemingly overnight, leaving new pool owners confused and frustrated. One of the most reliable recovery methods in pool care is the SLAM process—a structured approach designed to restore water clarity and sanitation effectively. Understanding how to execute it properly can protect your pool surface, extend equipment life, and ensure swimmer safety.
TLDR: The SLAM method (Shock, Level, And Maintain) is a controlled process for eliminating algae and contaminants from your pool. It requires accurate testing, proper chlorine dosing, continuous filtration, and consistent monitoring. This guide walks first-time pool owners through five clear, step-by-step SLAM approaches depending on their pool situation. Follow the process carefully and avoid shortcuts to achieve clean, safe, and stable water.
Understanding What SLAM Really Means
SLAM stands for Shock, Level, And Maintain. It is not a single pool shock treatment, but rather a disciplined, multi-day process designed to eradicate algae, bacteria, and organic contamination. The key principle behind SLAM is maintaining a specific elevated free chlorine (FC) level based on your pool’s cyanuric acid (CYA) level until water clarity and chemical balance are restored.
Unlike random shock treatments, SLAM:
- Relies on precise testing rather than guesswork
- Maintains chlorine at a calculated target level
- Requires continuous filtration and brushing
- Ends only when three strict criteria are met
Before beginning any SLAM variation, ensure you have a reliable liquid FAS-DPD test kit. Test strips are not sufficiently accurate for this process.
Step-by-Step SLAM Guide #1: The Standard Green Pool Recovery
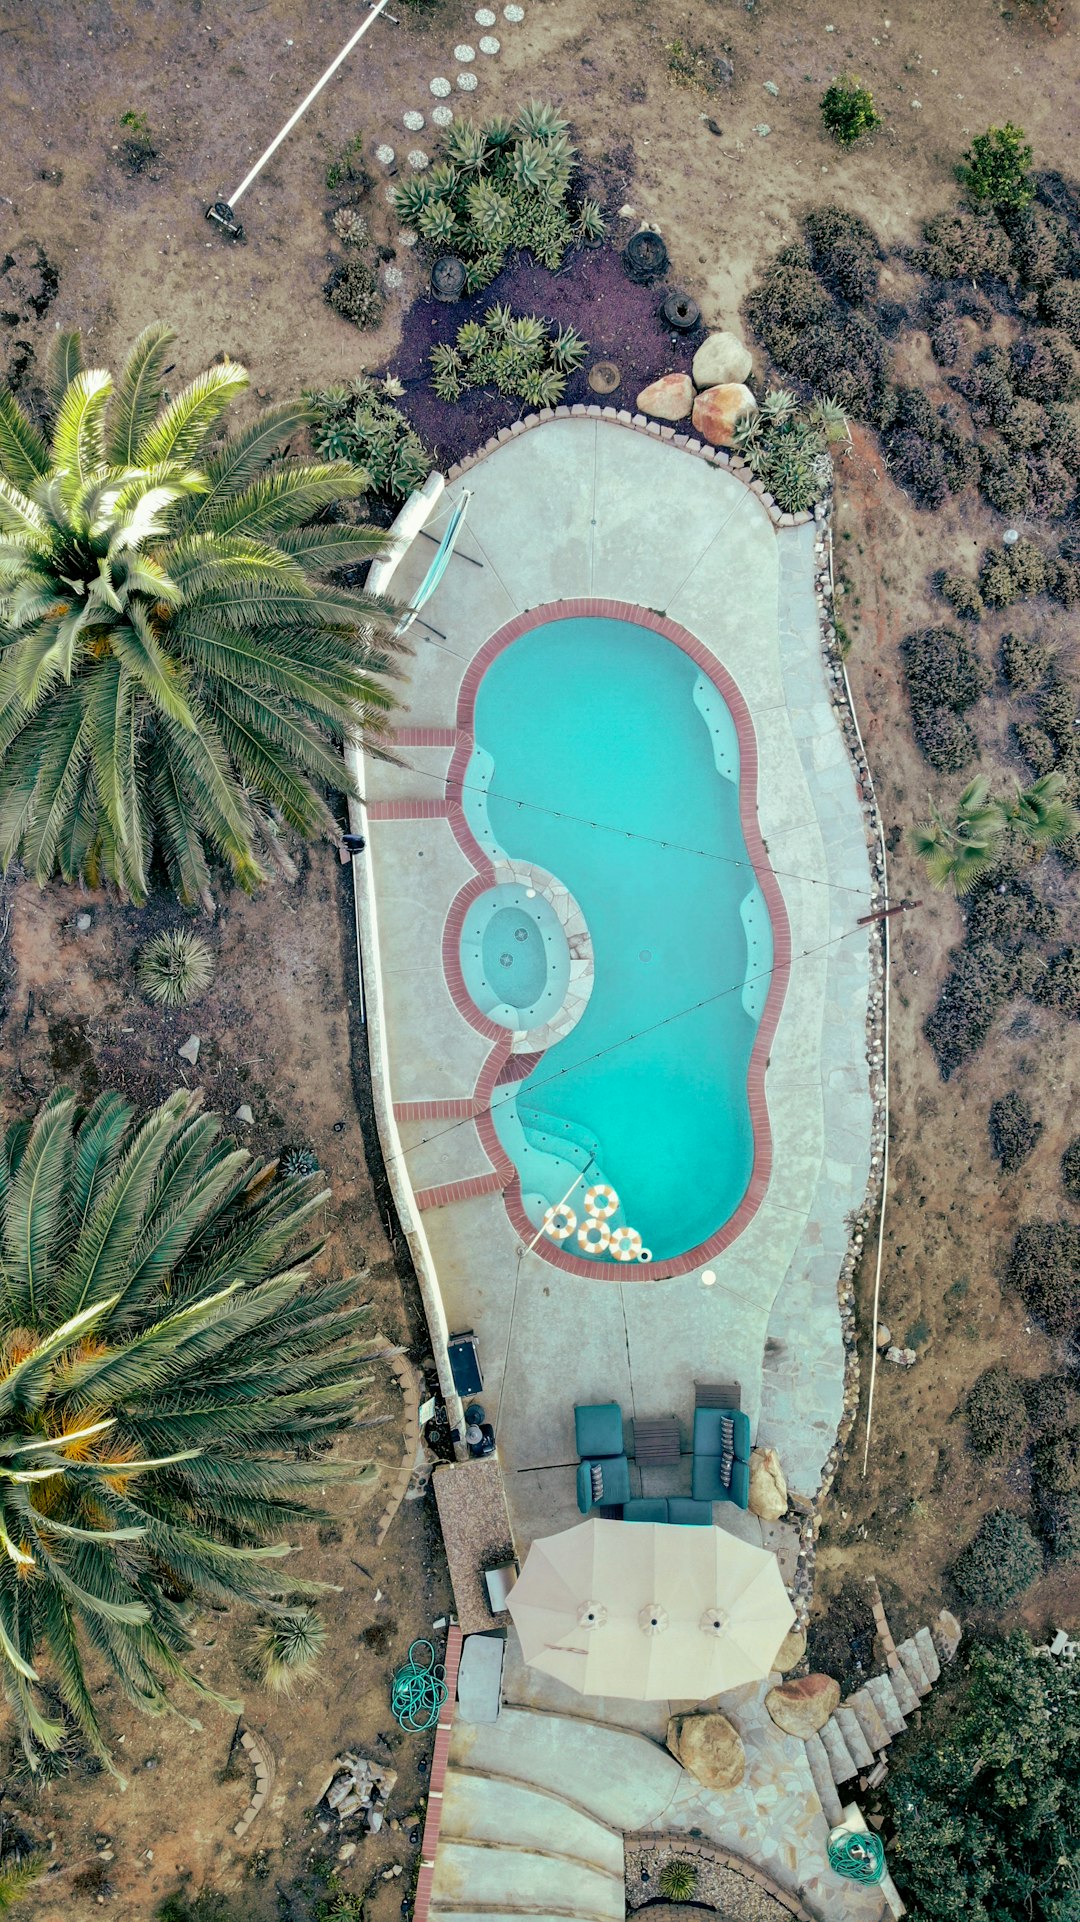
This is the most common situation for first-time pool owners: visible green water caused by algae growth.
Step 1: Test and Balance
- Test pH and adjust to 7.2–7.5 before adding chlorine.
- Measure CYA level.
- Record current free chlorine.
Step 2: Calculate SLAM Chlorine Level
Using a trusted CYA/chlorine chart, determine the required FC level for your CYA reading. This will often be significantly higher than normal maintenance levels.
Step 3: Add Liquid Chlorine
Add enough liquid chlorine (sodium hypochlorite) to reach the calculated SLAM level. Distribute it evenly around the pool.
Step 4: Brush and Circulate
- Brush walls, steps, and floor daily.
- Run pump continuously (24/7).
- Backwash or clean filter as pressure rises.
Step 5: Maintain and Test Frequently
Test chlorine every 2–4 hours initially and bring level back up to SLAM target whenever it drops.
The SLAM is complete only when:
- Water is crystal clear
- Combined chlorine (CC) is 0.5 ppm or lower
- You pass an Overnight Chlorine Loss Test (OCLT)
Step-by-Step SLAM Guide #2: Cloudy but Not Green Water
Sometimes water appears dull or hazy without obvious algae. This often indicates early-stage contamination or filtration inefficiency.
Image not found in postmetaStep 1: Confirm Test Accuracy
Ensure readings for pH, CYA, FC, and CC are accurate using your liquid test kit.
Step 2: Slightly Lower pH
Adjust pH to approximately 7.2 before beginning the SLAM.
Step 3: Bring Chlorine to SLAM Level
Even if algae is not visible, use the same CYA chart to determine the required shock level.
Step 4: Deep Clean Surfaces
- Brush thoroughly
- Vacuum debris
- Inspect ladders and hidden corners
Step 5: Monitor Filter Performance
Cloudy water often clears significantly once dead organic matter is filtered out. Clean or backwash more frequently during this process.
Step-by-Step SLAM Guide #3: After Heavy Rain or Pool Party
Storm runoff and high swimmer loads introduce contaminants quickly. Acting early can prevent full algae blooms.
Step 1: Remove Physical Debris
Skim leaves, dirt, and foreign particles.
Step 2: Test and Adjust pH
Rain commonly drops pH. Adjust to 7.2–7.5.
Step 3: Proactive SLAM-Level Chlorination
Bring chlorine to SLAM level even if the water still looks acceptable.
Step 4: Run Pump Continuously for 24–48 Hours
This improves turnover and filtration efficiency.
Step 5: Evaluate Overnight Chlorine Loss
If chlorine drops excessively overnight, continue SLAM process until overnight loss is under 1 ppm.
This preventive SLAM approach can save days of recovery later.
Step-by-Step SLAM Guide #4: Opening a Pool After Winter
Seasonal openings often reveal stagnant water conditions that require disciplined treatment.
Step 1: Remove Cover and Clear Debris
Physically remove leaves and sludge before chemical treatment.
Step 2: Reconnect Equipment and Ensure Circulation
Verify pump and filter operation before introducing high chlorine levels.
Step 3: Lower pH if Necessary
Bring pH down to 7.2 to maximize chlorine effectiveness.
Step 4: Initiate Full SLAM
Expect higher chlorine demand in stagnant water. Test frequently and maintain shock level diligently.
Step 5: Continue Until All Three SLAM Criteria Are Met
Opening SLAMs often take several days, sometimes longer if debris was extensive.
Step-by-Step SLAM Guide #5: Mustard Algae Treatment
Mustard algae appears yellowish and clings stubbornly to pool walls, often returning after normal treatment.
Step 1: Perform Standard SLAM First
Complete a regular SLAM and confirm water clarity.
Step 2: Elevate to Mustard Algae Level
Briefly raise free chlorine to a higher “mustard level” based on CYA guidelines.
Step 3: Brush Thoroughly
Target shaded areas and textured surfaces aggressively.
Step 4: Sanitize Accessories
- Pool toys
- Ladders
- Brushes
- Cleaning equipment
Step 5: Maintain Slightly Higher Normal FC After Completion
This reduces recurrence risk.
Essential Tools for Successful SLAM
Using proper tools ensures accuracy, efficiency, and safety throughout the SLAM process.
| Tool | Purpose | Why It Matters |
|---|---|---|
| FAS-DPD Liquid Test Kit | Measures precise chlorine levels | Essential for maintaining correct SLAM target |
| Liquid Chlorine | Primary sanitizing agent | Adds no unwanted stabilizers or calcium |
| Pool Brush | Dislodges algae from surfaces | Allows chlorine to reach embedded growth |
| Pool Vacuum | Removes settled debris | Prevents recontamination |
| Sand, Cartridge, or DE Filter | Filters dead particles | Restores water clarity |
Avoid:
- Powdered shock containing calcium if calcium hardness is already high
- Chlorine tablets during SLAM (they add CYA and slow the process)
- Algaecide as a shortcut replacement for SLAM
Common Mistakes First-Time Pool Owners Make
- Stopping too early: Water may look clear before algae is fully eradicated.
- Not testing frequently enough: Chlorine must be maintained consistently.
- Ignoring CYA levels: Incorrect CYA makes chlorine ineffective.
- Turning off the pump overnight: Circulation is crucial.
- Relying on pool store testing: Inconsistent results delay progress.
Patience and consistency are the difference between a three-day SLAM and a two-week struggle.
Final Thoughts for First-Time Pool Owners
The SLAM method is not complicated, but it demands discipline. By understanding the science behind chlorine levels, filtration, and water chemistry, you move from reacting emotionally to acting systematically. Clear water is not achieved through guesswork—it is the result of controlled, measurable sanitation practices.
Whether you are recovering from visible algae, preparing your pool for summer, or addressing contamination after a storm, these five structured SLAM guides provide a dependable framework. Follow each step carefully, verify results with proper testing, and avoid rushed shortcuts.
A properly executed SLAM restores not just water clarity, but confidence in your ability to maintain a healthy, safe swimming environment.